-
Studios
-
Support
-
Contact us
-
Products
Studios
QSR is the abbreviation of Quantitative Short Range, which is a patented GUL Guided Wave Scanning technology that with limited access can quantitatively size remaining wall thickness of a relatively short section of pipe.
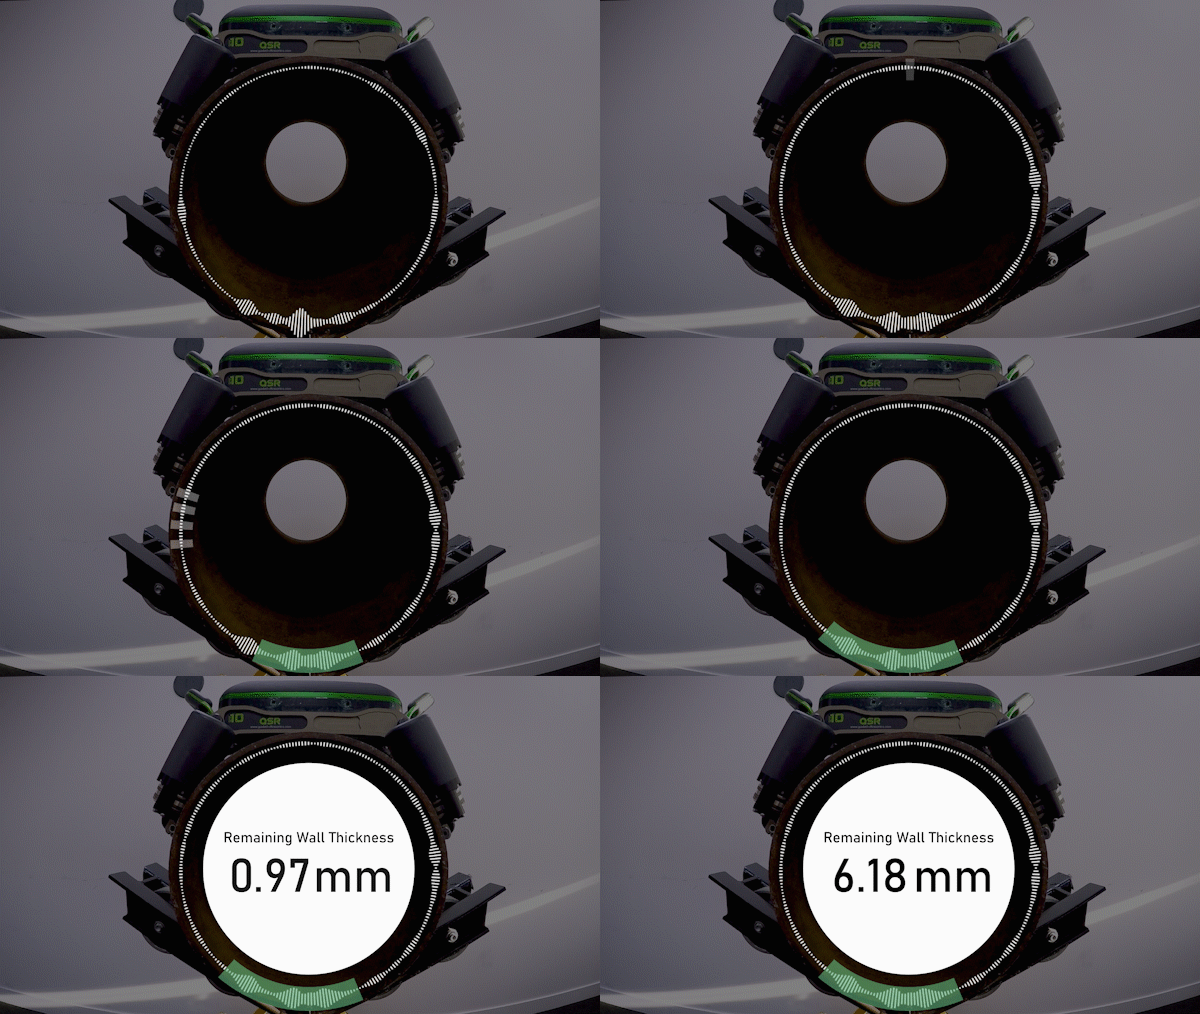
The QSR1® can be used to evaluate simple resting pipe supports, providing there are no features that hinder the movement of the scanner along the pipe section.
The QSR1® is designed to work exclusively on Carbon Steel pipes.
Other materials, such as aluminium, or composite materials cannot be inspected with this equipment.
The QSR1® can scan pipes with coating or paint that is up to 1 mm thick.
The frequency-based method used by QSR1® directly relates the frequency properties of the waves to the pipe wall thickness.
In contrast, conventional NDT techniques, such as MRUT, use amplitude‑based signal processing methods, which only estimate defect sizes based on the amplitude of the signals.

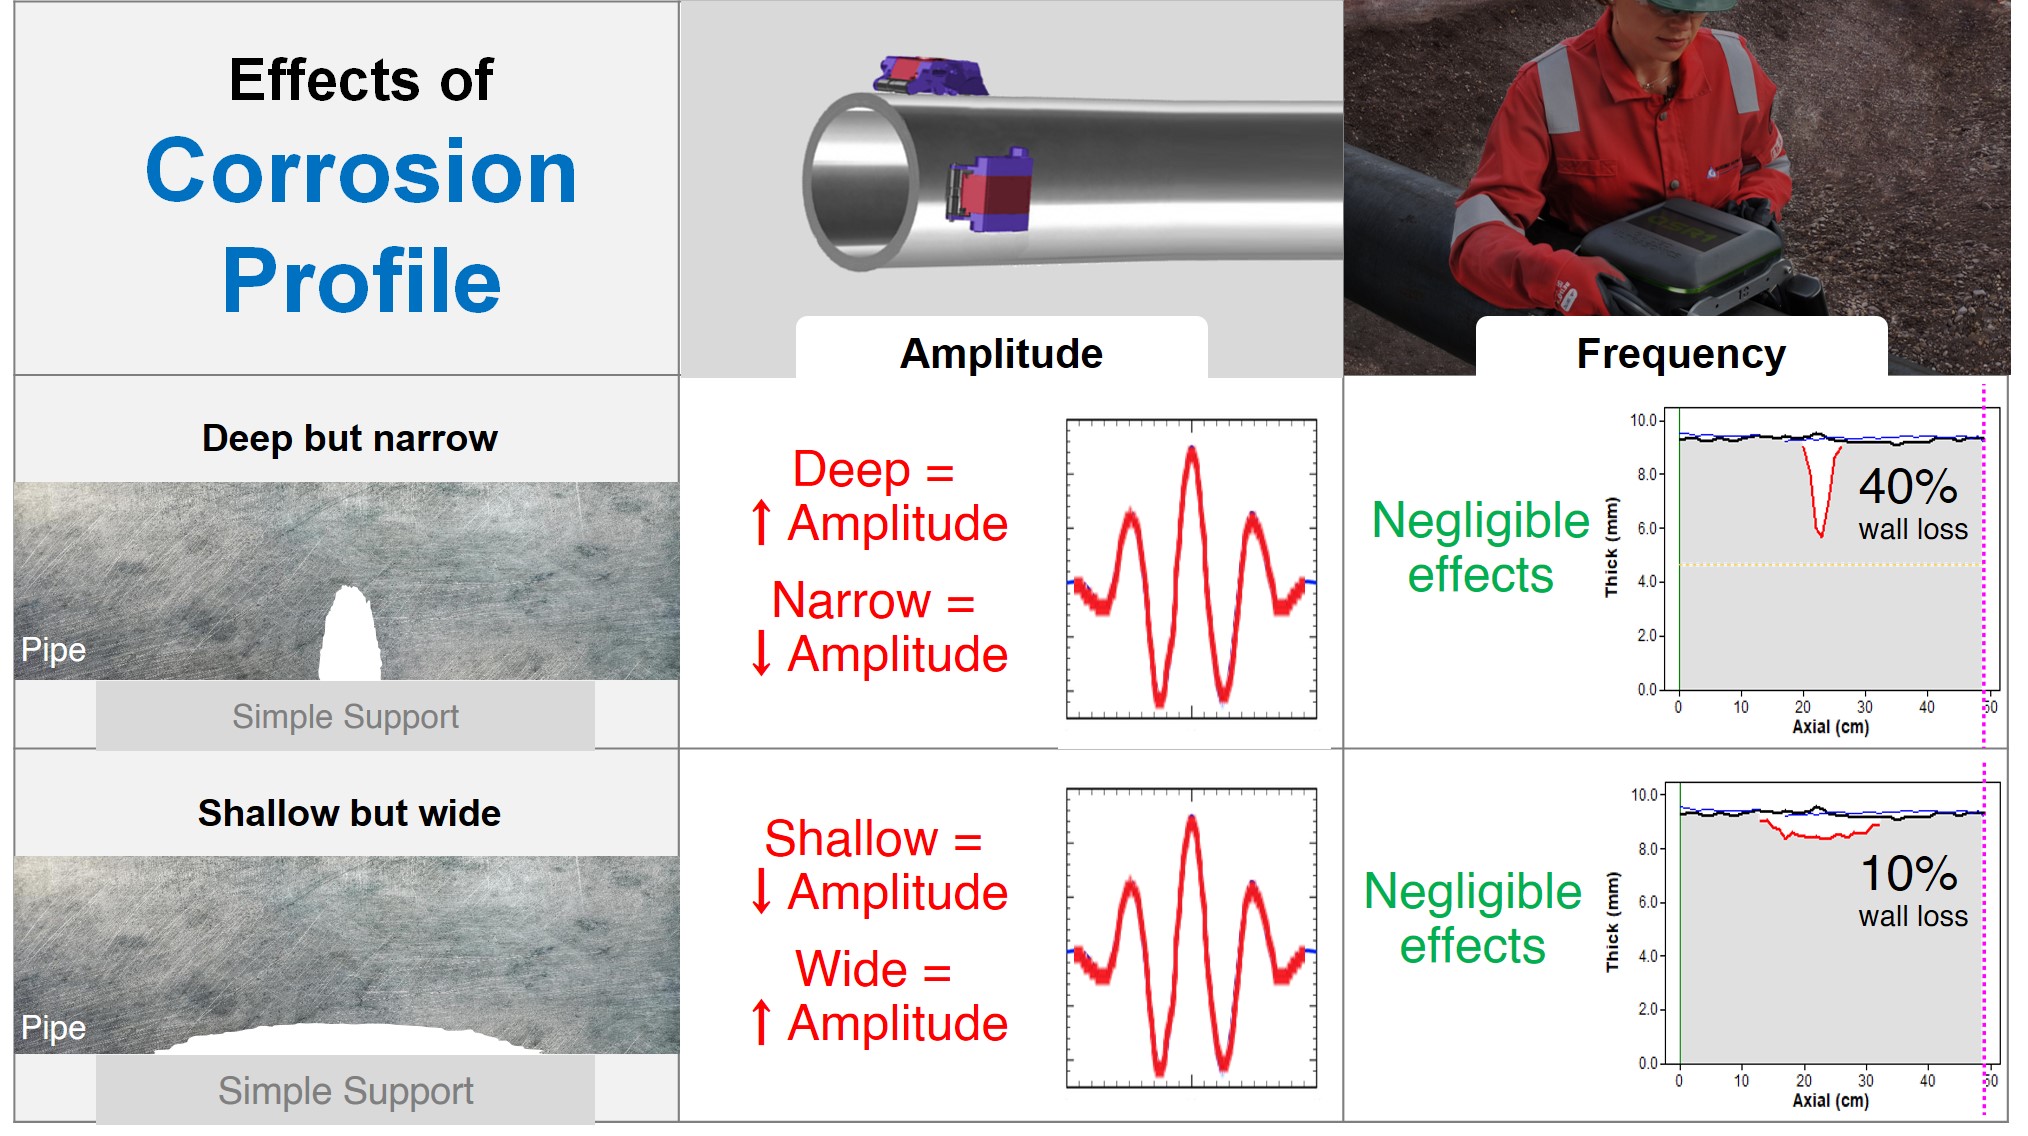
Measurements from amplitude-based methods can be highly uncertain or inaccurate because there are many external factors, aside from corrosion depth, that can affect the amplitude of guided waves. An example would be corrosion profile or dimensions. Typically, corrosion are 3-dimensional with varying length, width and depth. A deep but narrow defect may produce the same signal amplitude response from a shallow but wide defect. Therefore, amplitude-based methods typically do not have specificity towards corrosion depth or remaining wall thickness, which is of main interest.
However, our patented QSR method of using shear horizontal (SH) guided waves and analysing its frequency content is much more selective towards measuring corrosion depth or remaining pipe wall thickness. Therefore, QSR is able to distinguish a deep but narrow defect, from a shallow but wide defect.
Another phenomena that makes amplitude-based methods uncertain is signal energy losses or attenuation. Attenuation of a signal due to coatings, general corrosion, liquid content or support pads can cause signal amplitude to decrease, which can actually cause false calls and greatly decreases sizing accuracy. However, QSR system is significantly less affected by this effect because the frequency response from attenuation due to the aforementioned sources can be distinguished from defects. Therefore, the QSR system is much more reliable and accurate in real pipes in the field, and not just lab pipe specimens.
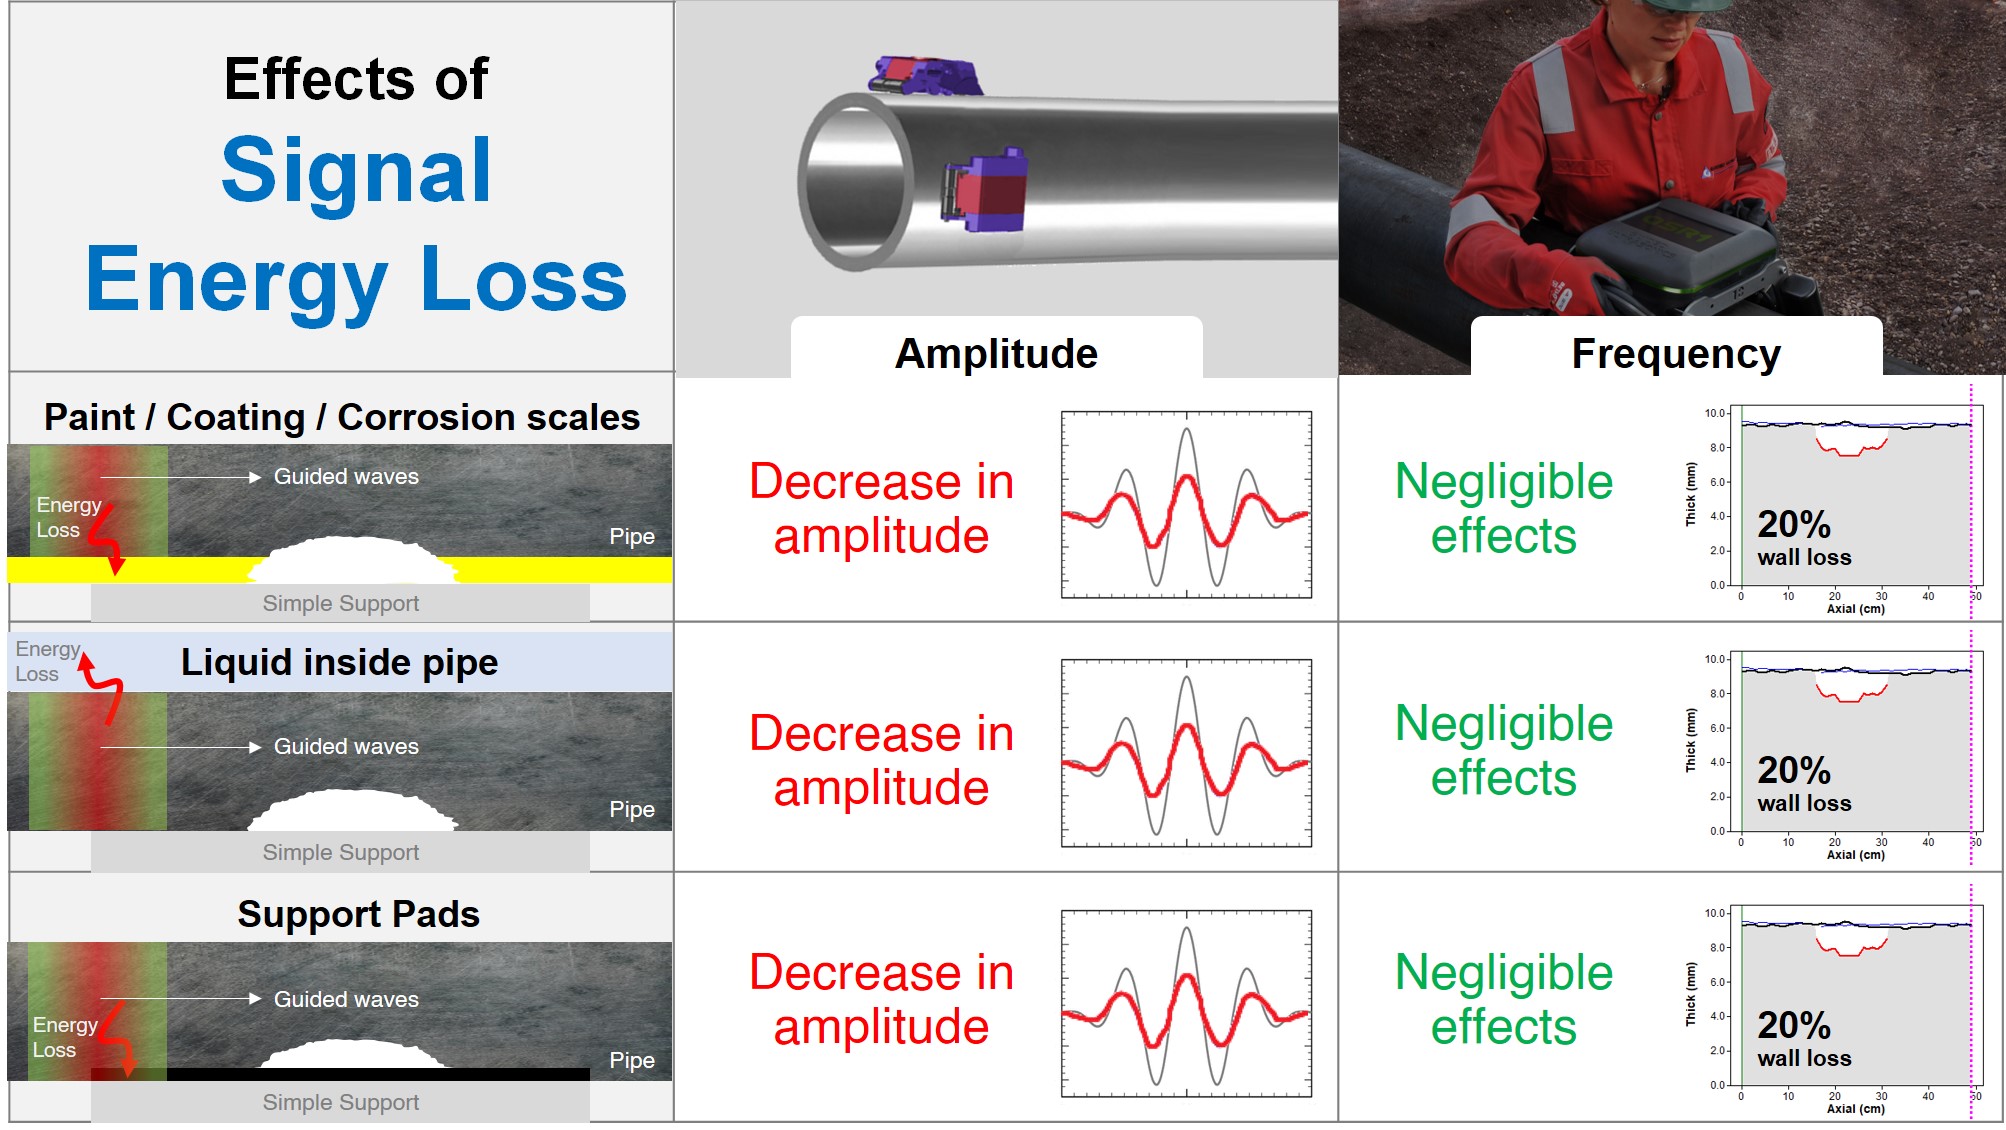
By using frequency‑based analysis, the QSR1® provides a truly quantitative and more accurate sizing capability than instruments using amplitude‑based methods.
The QSR1® is designed to operate within -20°C to +70°C (-4 to 160°F).
The QSR1® can scan pipes with coatings or paint thickness of up to 1 mm.
The smallest defect size that our GUL inspectors have reliably detected and validated, is a 25 mm x 25 mm real corrosion patch on a 10” pipe. It is important to keep in mind that sensitivity of an inspection will always depend on existing pipe condition.
This application is currently not possible with the QSR1® but we are looking to develop a solution for this application in the near future.
Yes, this function is available on the WaveProQSRTM software.
The QSR1® is designed to inspect pipe sections at supports, which typically involves scanning 0.5-meter pipe sections. The speed of the scanner on a pipe depends on the Collection and Scan configuration settings that the user has selected. For 1 cm scanning steps using the “Default” protocol on a NPS 10 Schedule 40 pipe, the scanning rate is approximately 17 minutes per meter. Therefore, a typical QSR1® scan is approximately 9 minutes per support location.
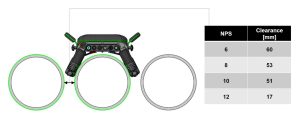
Approximately 60 mm.
The calibration certificate is valid for 1 year. The QSR1® must be shipped back to GUL annually for calibration.
The QSR1® battery can be found in the electronics pod. It does not matter if the sensors are connected. Plug in the charger (you can check it’s charging by turning on the unit and look to see the symbol for charging on the battery icon). The MSDS for the battery can be found here.
The larger the pipe diameter, the lower the radial clearance. The following lists the nominal pipe diameter and their respective radial clearance: – NPS 6 (60 mm), NPS 8 (53 mm), NPS 10 (51 mm) and NPS 12 (17 mm).
The access to the software will be provided to you once you have purchased a QSR1® .
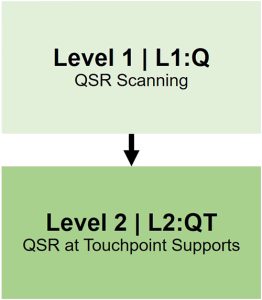
A trained and qualified Level 2:QT inspector is required to operate and analyse the results from the QSR1® . For more information, please see GUL Training webpage.

Training for the QSR1® is currently offered as a combined Level 1:Q and Level 2:QT course.
The length of the course is 32 hours: 8 hours a day, over 4 days.
An additional day for examination must be allocated.
For further information, please visit the GUL Training website.
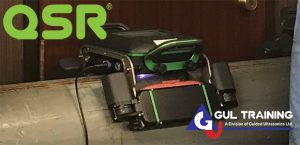
Suitable for Level 2 NDT inspectors new to the field of Guided Wave Testing (GWT).
Recommended Qualifications:
Level 2:QT
Application specific training course for the inspection of touchpoint supports.
Requirements:
For more information, please see GUL Repair and Servicing webpage.
Check out the QSR1® webpage.
Please send us a message on our Contact Us page. We will be happy to help.